I recently set up a phone line for my 9-year-old. Why? I liked the idea of her being able to connect with others in a way she has control over, but with some of the natural limitations built in to a traditional landline and without the distractions of a smartphone. Okay, it also just seemed like a fun thing to try.
(Just today, a few days after I did this, The Atlantic came out with an article expanding on this thinking: The Dumbest Phone Is Parenting Genius: Landlines encourage connection—without the downsides of smartphones. Hat tip to Damon for sending me the link.)
We’re referring to it as a landline since it has all the appearance and functionality of one — a single push-button phone connected to the wall with a cord — but behind the scenes it’s VOIP technology with some fun parental control features built in. It was relatively easy to set up as my home tech tinkering projects go, so I thought I’d share the details here.
My costs for this project were $61.90 in set up costs and around $5/month or less to operate, depending on call volume. (If your kid talks on the phone a lot, the voip provider I’m recommending offers a flat $4.25/month plan for up to 3,500 minutes, instead of the $0.009 to $0.01 per-minute rate I’m set up with.)
If you have more money than time, you could also look at Tin Can, as it seems to be a well-thought-out “landline for kids” product and service for $75 one time plus $10/month (first month free) and a few more polished parental control features. I haven’t tried it directly myself.
Requirements and Equipment
- High speed home internet connection
- An ethernet port somewhere near where you want the phone to be set up, and/or a really long phone cord
- Grandstream 2-FXS Port Analog Telephone Adapter (HT802) – $46 at Amazon
- A cheap, regular push-button phone, e.g. Slimline Black Colored Phone – $14 at Amazon. Do not buy a VOIP phone, you don’t need it.
- A Voip.ms account
Some of the links above are affiliate links; I may receive a small commission if you purchase through them.
Get a phone number
Once your voip.ms account is created and you’ve enabled two-factor authentication, add some funds to your account via credit/debit card, maybe $10 to start with. You can also set the account up to auto-replenish your balance when the amount gets low.
Order a phone number, referred to on the site as a “DID” (direct inward dialing) number. This will cost $0.40 one time and then be $0.85/month after. (If you have an existing number you want to use, you can port it in to your voip.ms account, a process that has several steps but is perfectly manageable.)
When you’re asked to pick a registration server, pick one near where you live. I ran some ping tests on each nearby option, and the round trip times / latency were approximately similar, so I just picked the “first” server in a city’s available group.
If this line will be available to your kids when you are not home and you live in the US, I also suggest paying for E911 services, which is a $1.50 one time fee and $1.50/month after. This allows your kid to call 911 and have emergency services dispatched to the correct residential address. (Depending on how you look at it, the ability to make emergency calls that depend on a working internet connection, power, etc. could be a bad idea to rely on!)
Configure your VOIP account
Create a sub-account that will only be used for this phone number and line. This avoids having to use your main voip.ms account password in setting up the line configuration.
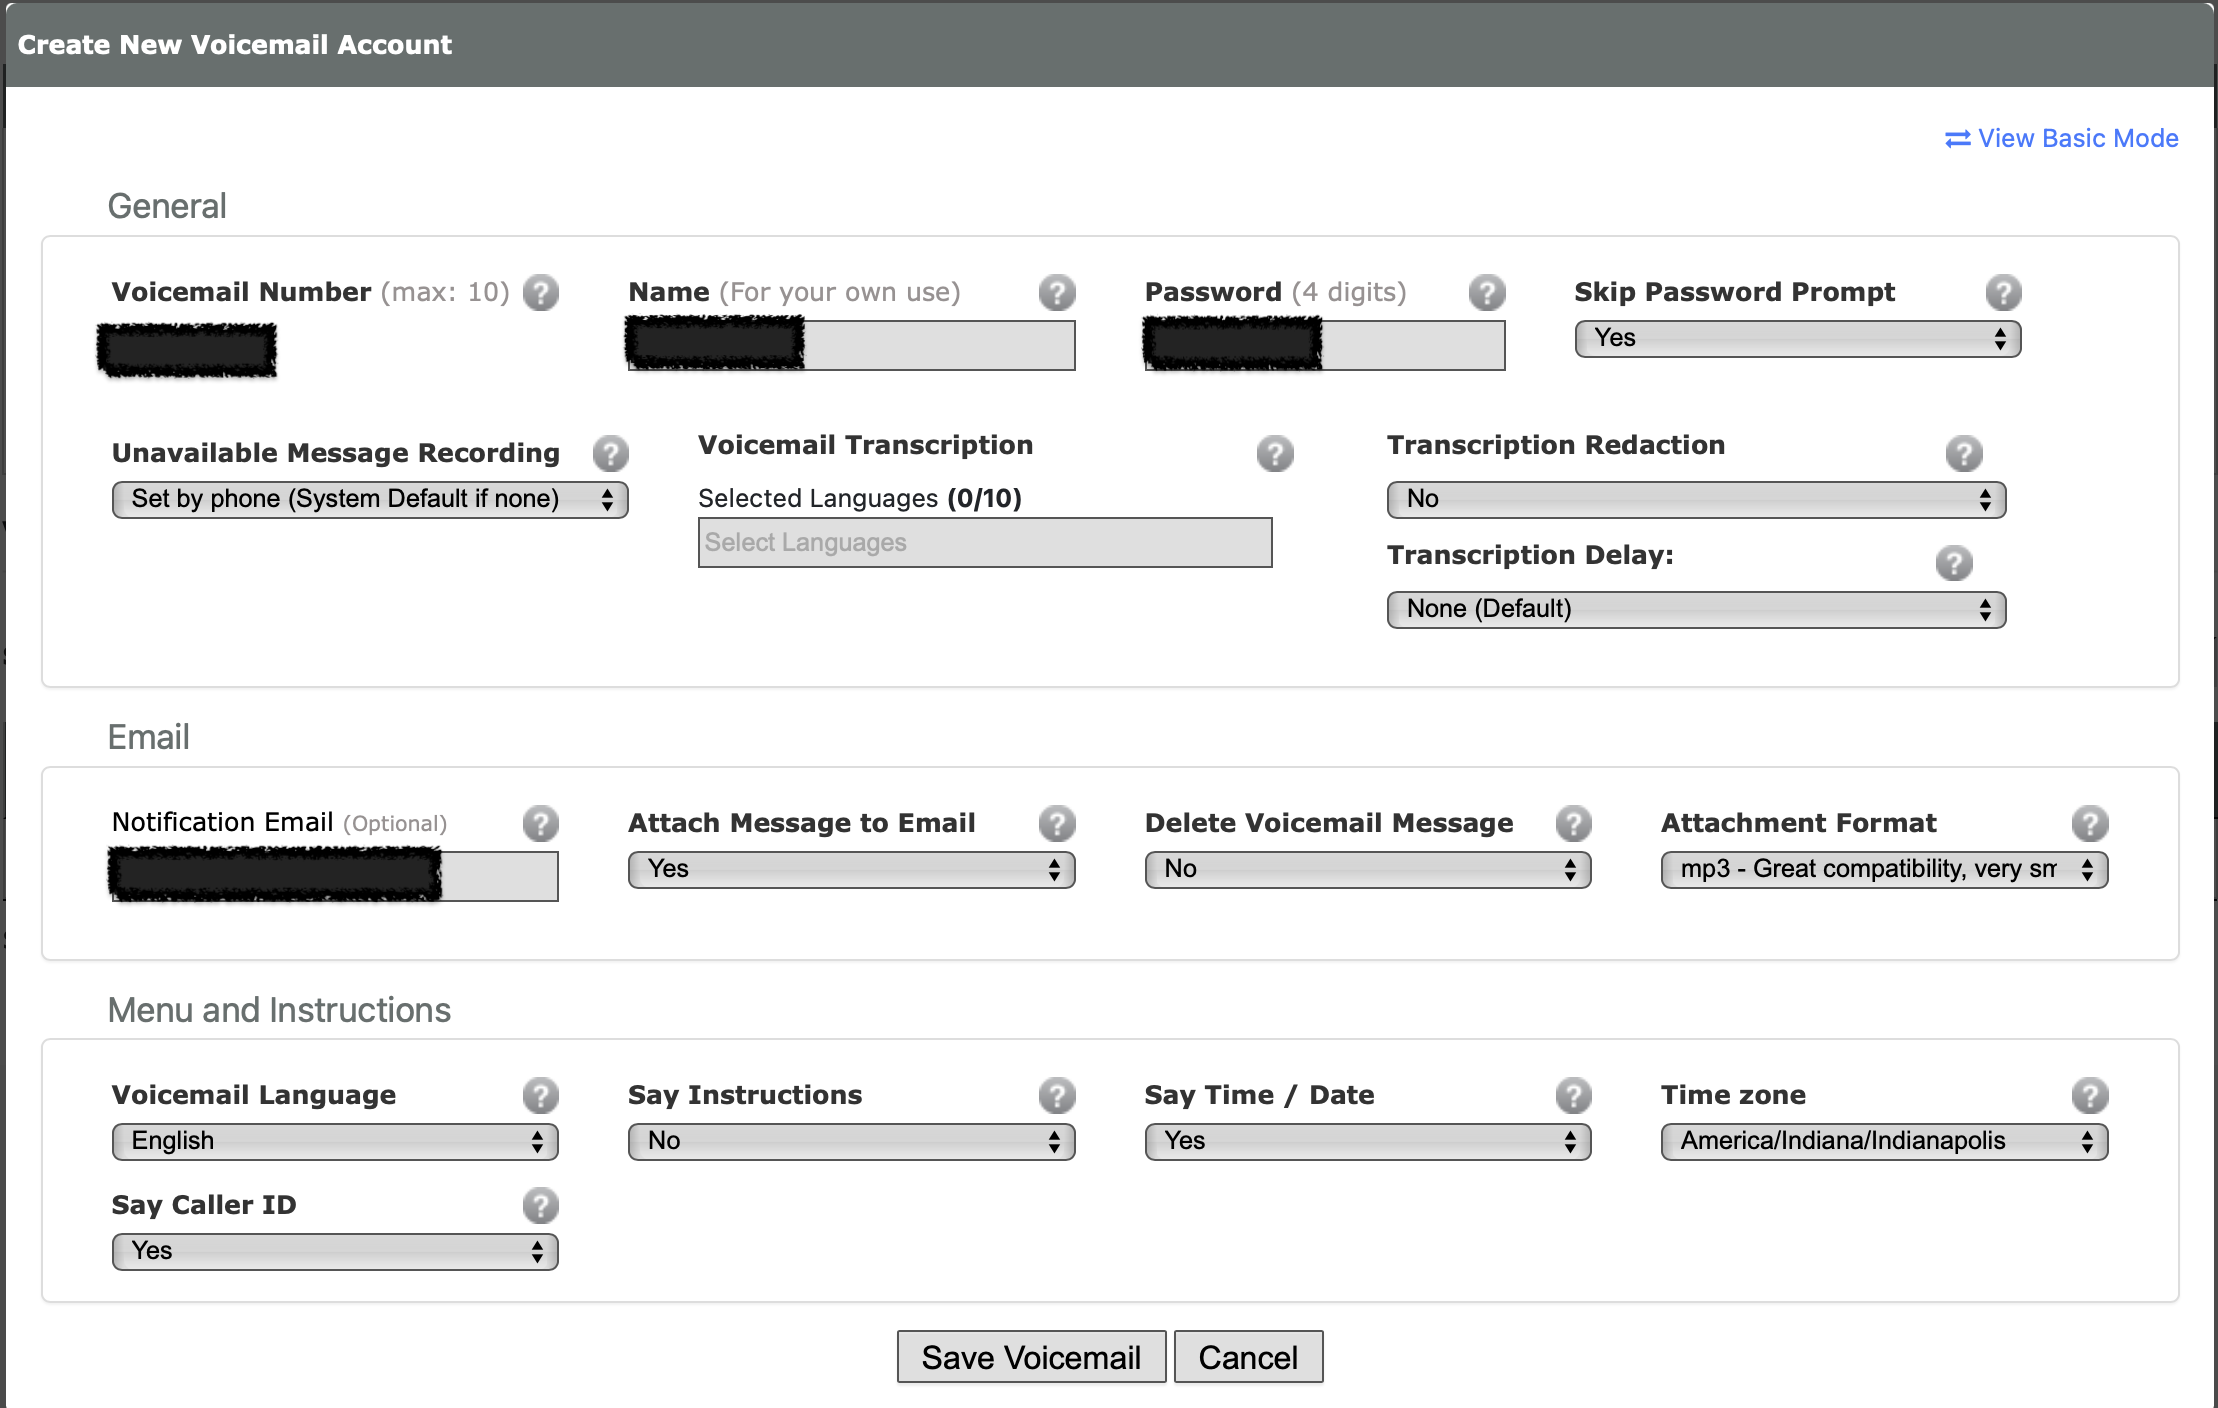
Create a voicemail account that your kid can receive voicemail messages on. It’s no extra cost unless you add in fancy transcription features. You can have voicemail recordings emailed; consider using an alias/address that goes to both your kid and adults in the household, or just the adults. Your kid will still be able access the voicemails directly by the phone itself.

Consider setting up “do not disturb” hours. This is done with the Time Conditions feature at voip.ms.

Consider setting up CallerID filtering. You can import a list of phone numbers that are allowed to call in to your kid’s phone, and block everything else.

There are lots of other cool features that voip.ms offers for free as a part of having a DID number with them, so I encourage you to poke around their documentation and interface.
I will eventually shift away from managing the line’s features on voip.ms directly and use FreePBX running on a Raspberry Pi instead. This would expand the parental controls available (e.g. preventing outbound calls at certain times, limiting calls to certain numbers) also enable some cool additional integrations and fun features.
Set up the Grandstream device
This device will be the bridge between your traditional telephone and the VOIP.ms service. It’s what you will need to plug in to an ethernet port on your router or a switch connected to your router, and it’s also what your kids phone will be connected to. Again, a long phone cord may be the way to help them access the phone easily without needing to get to your home networking setup.
I recommend following the steps in this guide from the voip.ms folks to the letter. This is probably the most technical and potentially intimidating part of the process, but while some of the options on newer firmware versions of the Grandstream are labeled differently, it should be relatively straightforward.
Make sure you use the sub-account username and password you created above, not your main voip.ms account info.
I enabled encryption for calls, which involves enabling it both on the SIP subaccount and on the Grandstream device.
I also enabled message waiting indication (MWI) which gives a stuttered dial tone when there’s a new voicemail message waiting.
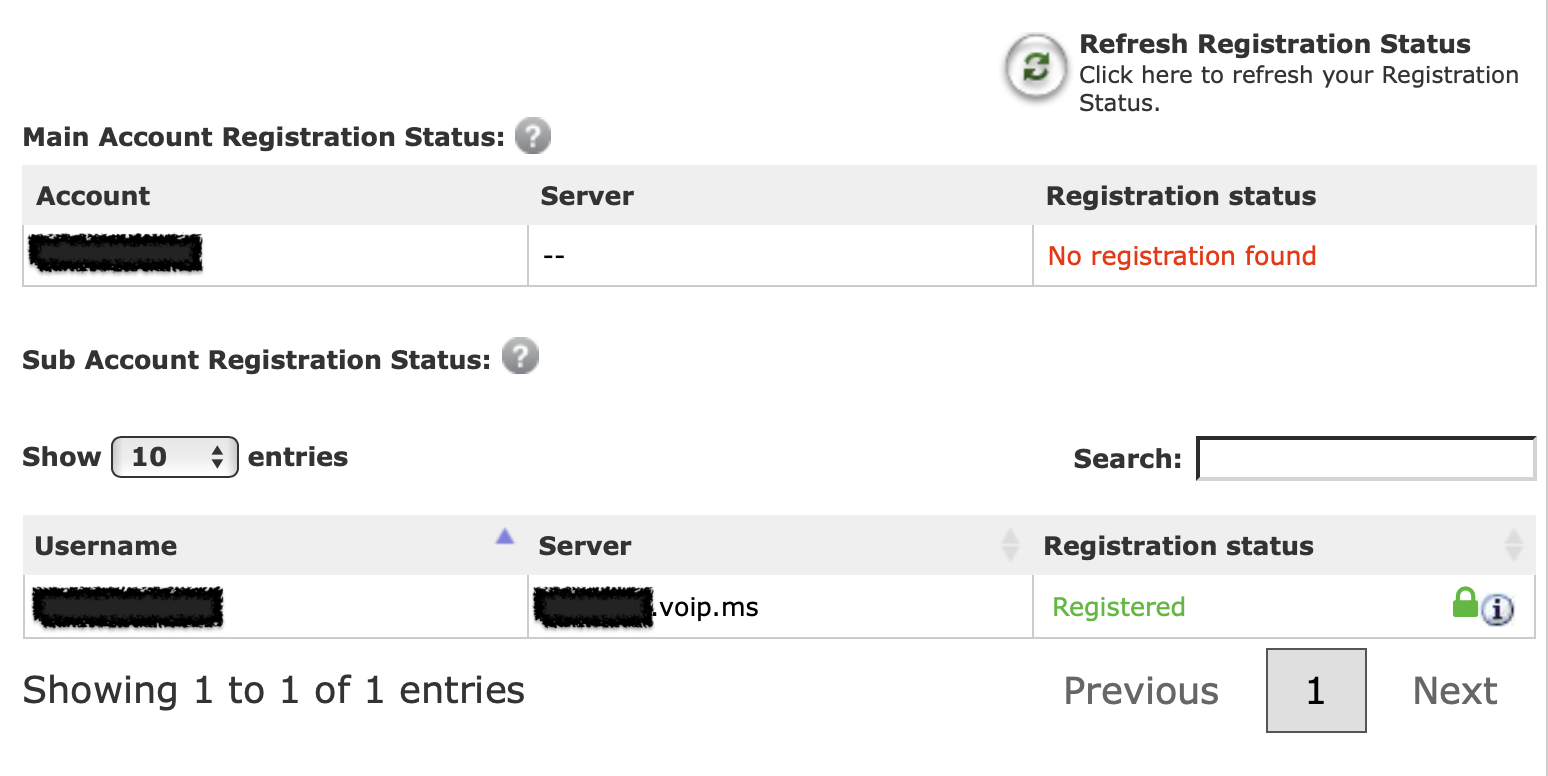
When everything is working correctly, you should see a blue light on the port 1 phone icon on the Grandstream device, and the subaccount should show as registered in your voip.ms account.

Plug in the phone and make calls!
After you plug in the phone to the port on the Grandstream device and pick it up, you should hear a dial tone, and you should be able to make and receive calls.
Even though my daughter had talked to others on one of our smartphones many times, she was so delighted to make and receive her first calls on her own phone line.
You can view the Call Detail Records (CDR) report in your voip.ms account to understand how much calls are costing, where calls are coming from and going to, etc.
