As a part of some local journalism projects I’m exploring, I wanted to have a way to get information that is being emailed around (press releases, newsletters) into a publicly accessible RSS feed.
I’ve already explored this general “unlock email into an RSS feed” workflow using Zapier but Zapier’s limitations around translating HTML email messages into useful RSS entries led me to explore other options. For a while now I’ve been using Feedly’s paid feature that lets you receive email at a custom address and puts the content into your feed reading experience, and that’s actually been a good solution for me as an individual. (I made sure to set up an address at a domain I control and aliased that to Feedly’s provided address, in case I want to move to another solution later.)
But if we want to help a given audience have better access to information that’s only available in email but is intended to be public, I don’t think it scales well to ask them all to subscribe to the same email newsletter, or to all sign up for a Feedly paid plan. And yet so many organizations continue to use email as a way to distribute information, often instead of a website, and it doesn’t scale well to beg each of them to start (or go back to?) publishing their updates on a website with an RSS feed.
I started looking at using Mailparser for a more generalized solution. Receive the emails, have Mailparser extract the information into a structured, API-queryable format, and then download that information (including any attachments and images) and put it up on a publicly accessible URL somewhere. I knew I needed a way to organize the information coming in according to the email address of the person who sent it, so I’d have to build a small application that managed that categorization during the publishing process.
And then I realized I was basically getting into CMS territory. Publishing text and media on a website. Organizing content by categories and authors. Searchable and sortable. Yeah, I know a tool that already does all that stuff really well: WordPress.
But was I still going to need to build a glue application to process the emails and create WordPress posts?
I was aware of Jetpack’s post by email feature and I think it could work well for some scenarios, but I wanted something a little more purpose built. I did a little bit of Googling and found Postie, a WordPress plugin that has great features for bringing emails into WordPress posts. I exclaimed many words of delight upon finding it, and continued to be impressed as I looked through the thoughtful documentation, the developer-oriented options for extending and customizing it, and the active support and maintenance that goes into it. The WordPress community is amazing that way. I sent the developer a donation.
So, here’s the new workflow I would use:
- Email is sent to an alias at my custom domain, which goes to a free email provider with IMAP access.
- Every half hour, Postie goes out and checks for new email messages and creates pending WordPress posts.
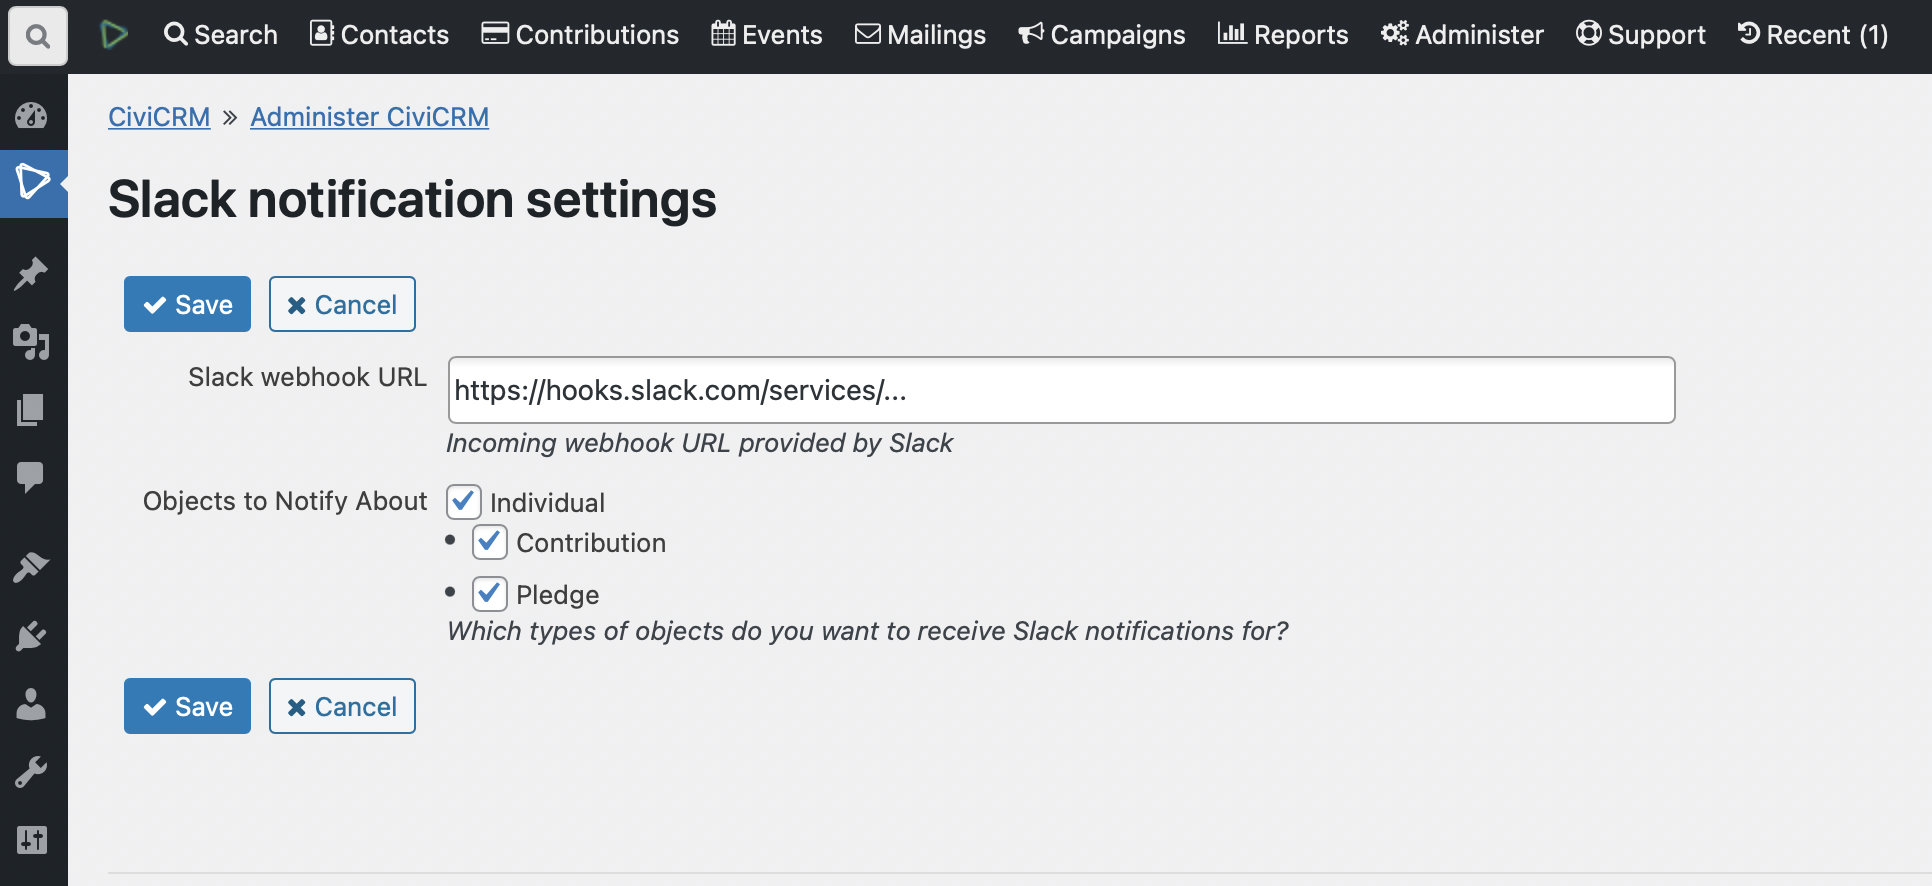
- I get a notification in a Slack channel about the WordPress post, and can publish it if appropriate.
- The WordPress site provides a built in RSS feed of “emails” as posts on the site.
Amazing! But I still wanted a way to organize the incoming emails and resulting posts based on sender, without using Postie’s default method of creating WordPress users for each sender.
So, I created a custom taxonomy, Sources, with some term meta fields that allow me to associate email addresses and to select whether posts from that source should be pending or published by default. (Of course, email can be forged so it’s never safe to depend on the value of the “From” address in an email to authenticate anything important.)
Here are some code snippets used to accomplish this in a custom WordPress plugin I set up to complement Postie.
Continue reading Unlocking email content into RSS feeds redux with WordPress and Postie